


Oh how excited I was to attempt to reproduce the Cesare Paciotti bootie I saw on Pinterest.

I had the rhinestones, silver dragées, a buckle mold… I’d made black pastillage and hand built the heel.


And then disaster struck. I hadn’t adjusted the amount of tylose in my pastillage to compensate for the humidity added through the black gel food colour. My sole was also far too thin. I tried to remove it from the form to give it an undersole and that’s when it broke, in three places.
With only a few days left to make the bootie I decided to use my white pastillage to make another sole and just paint the visible parts black.
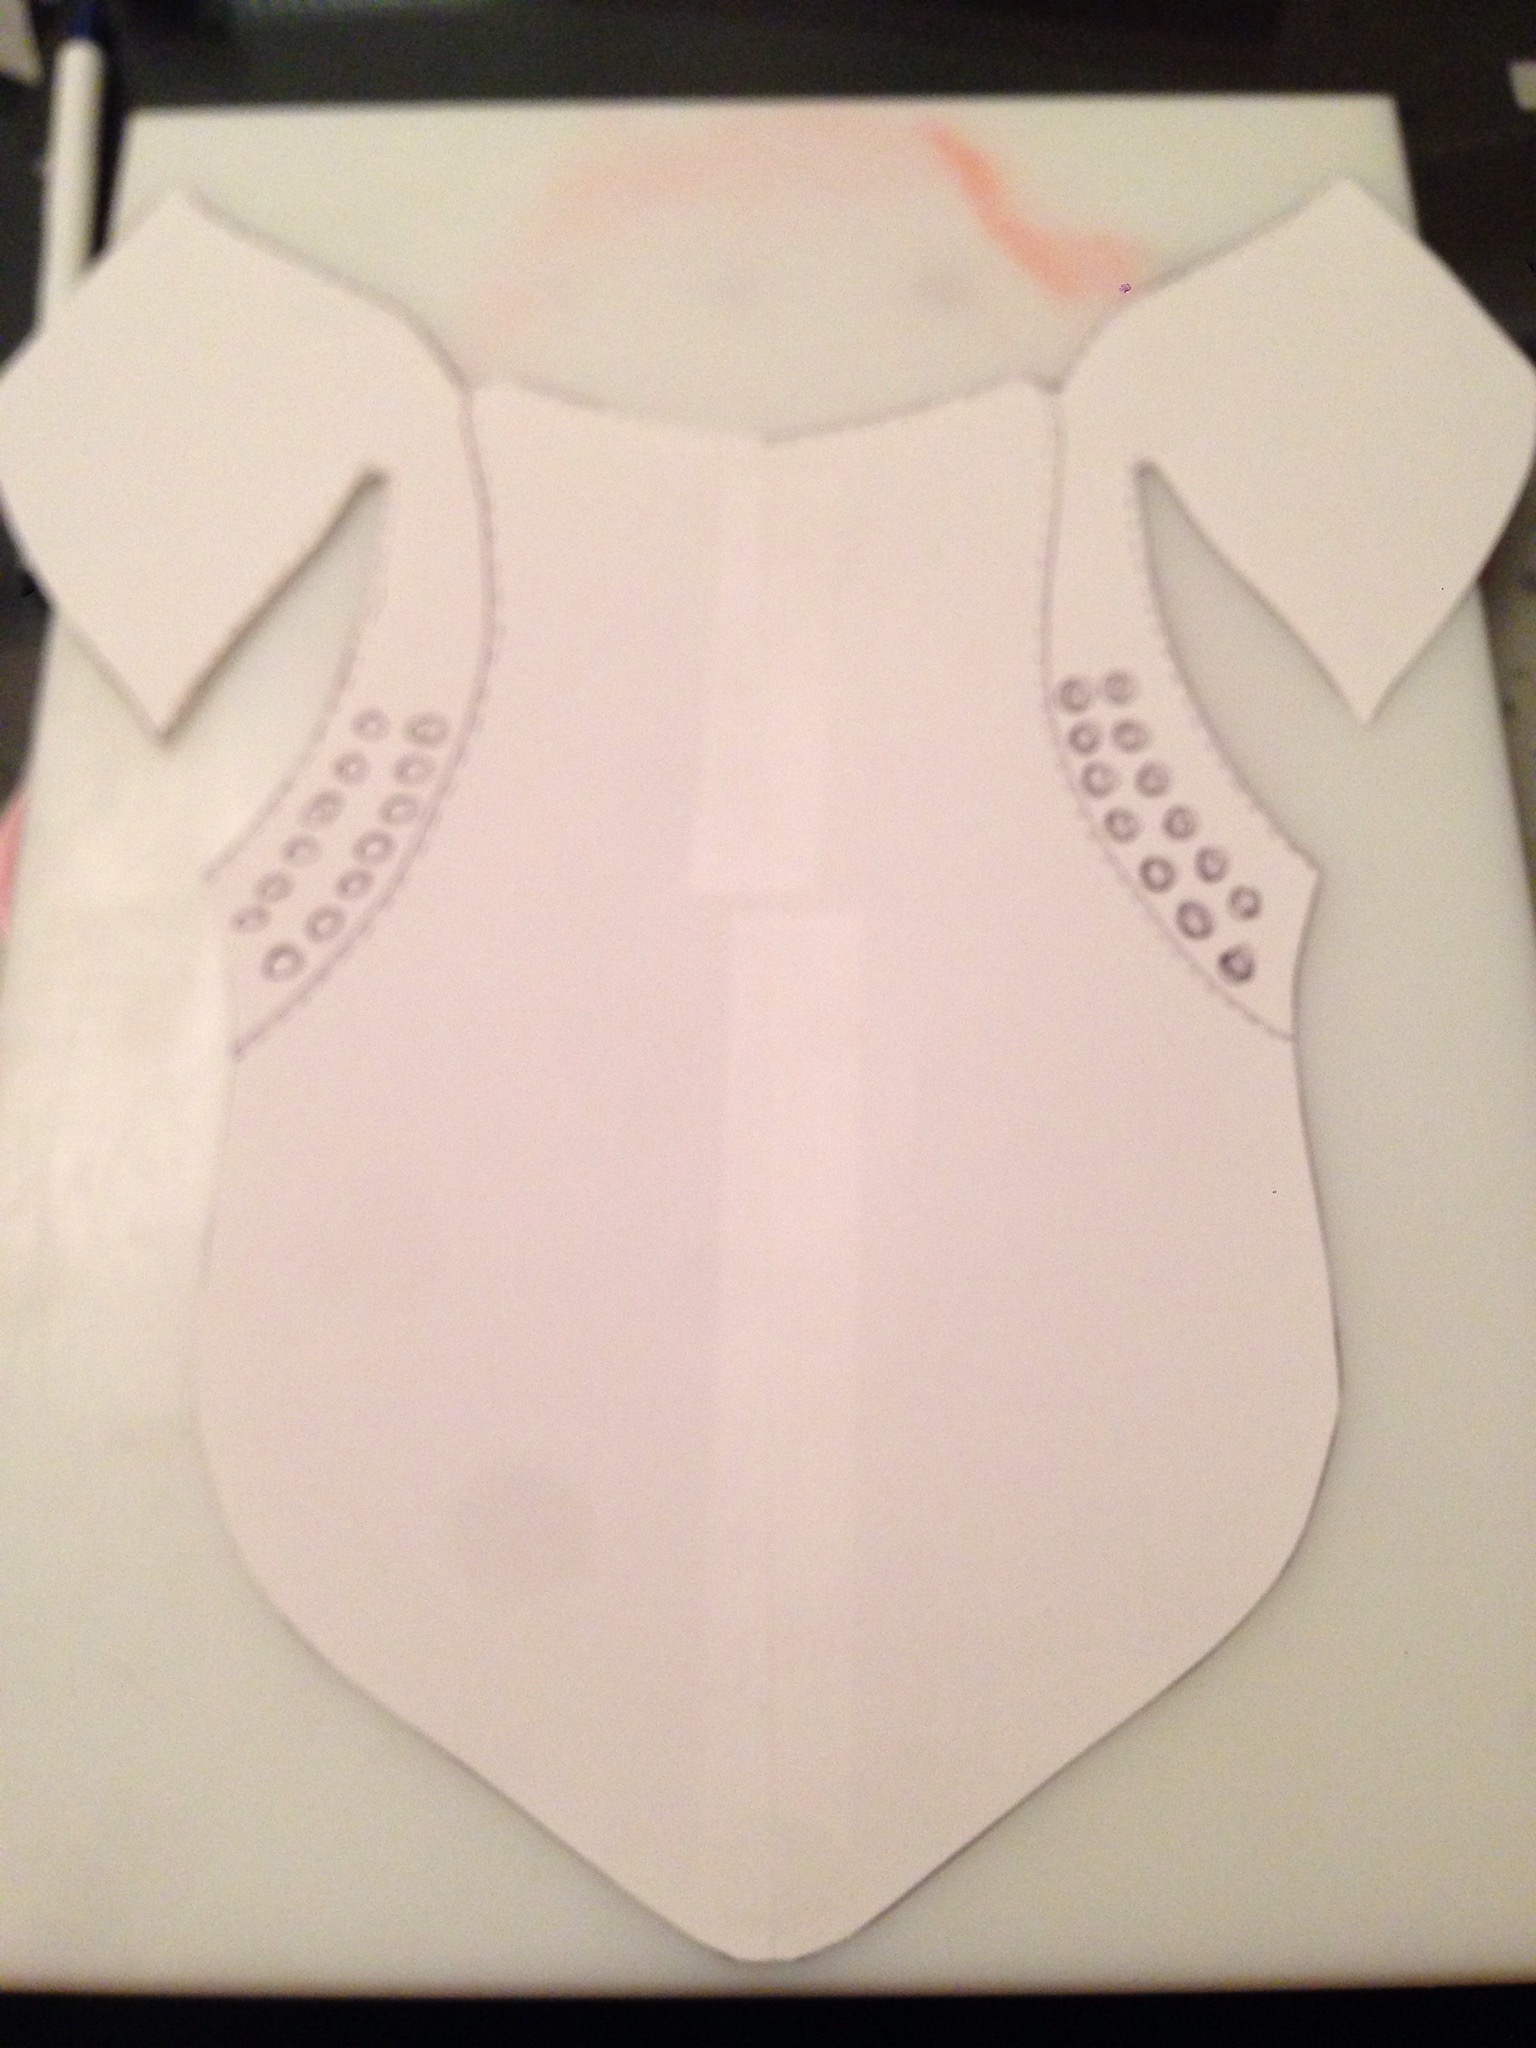
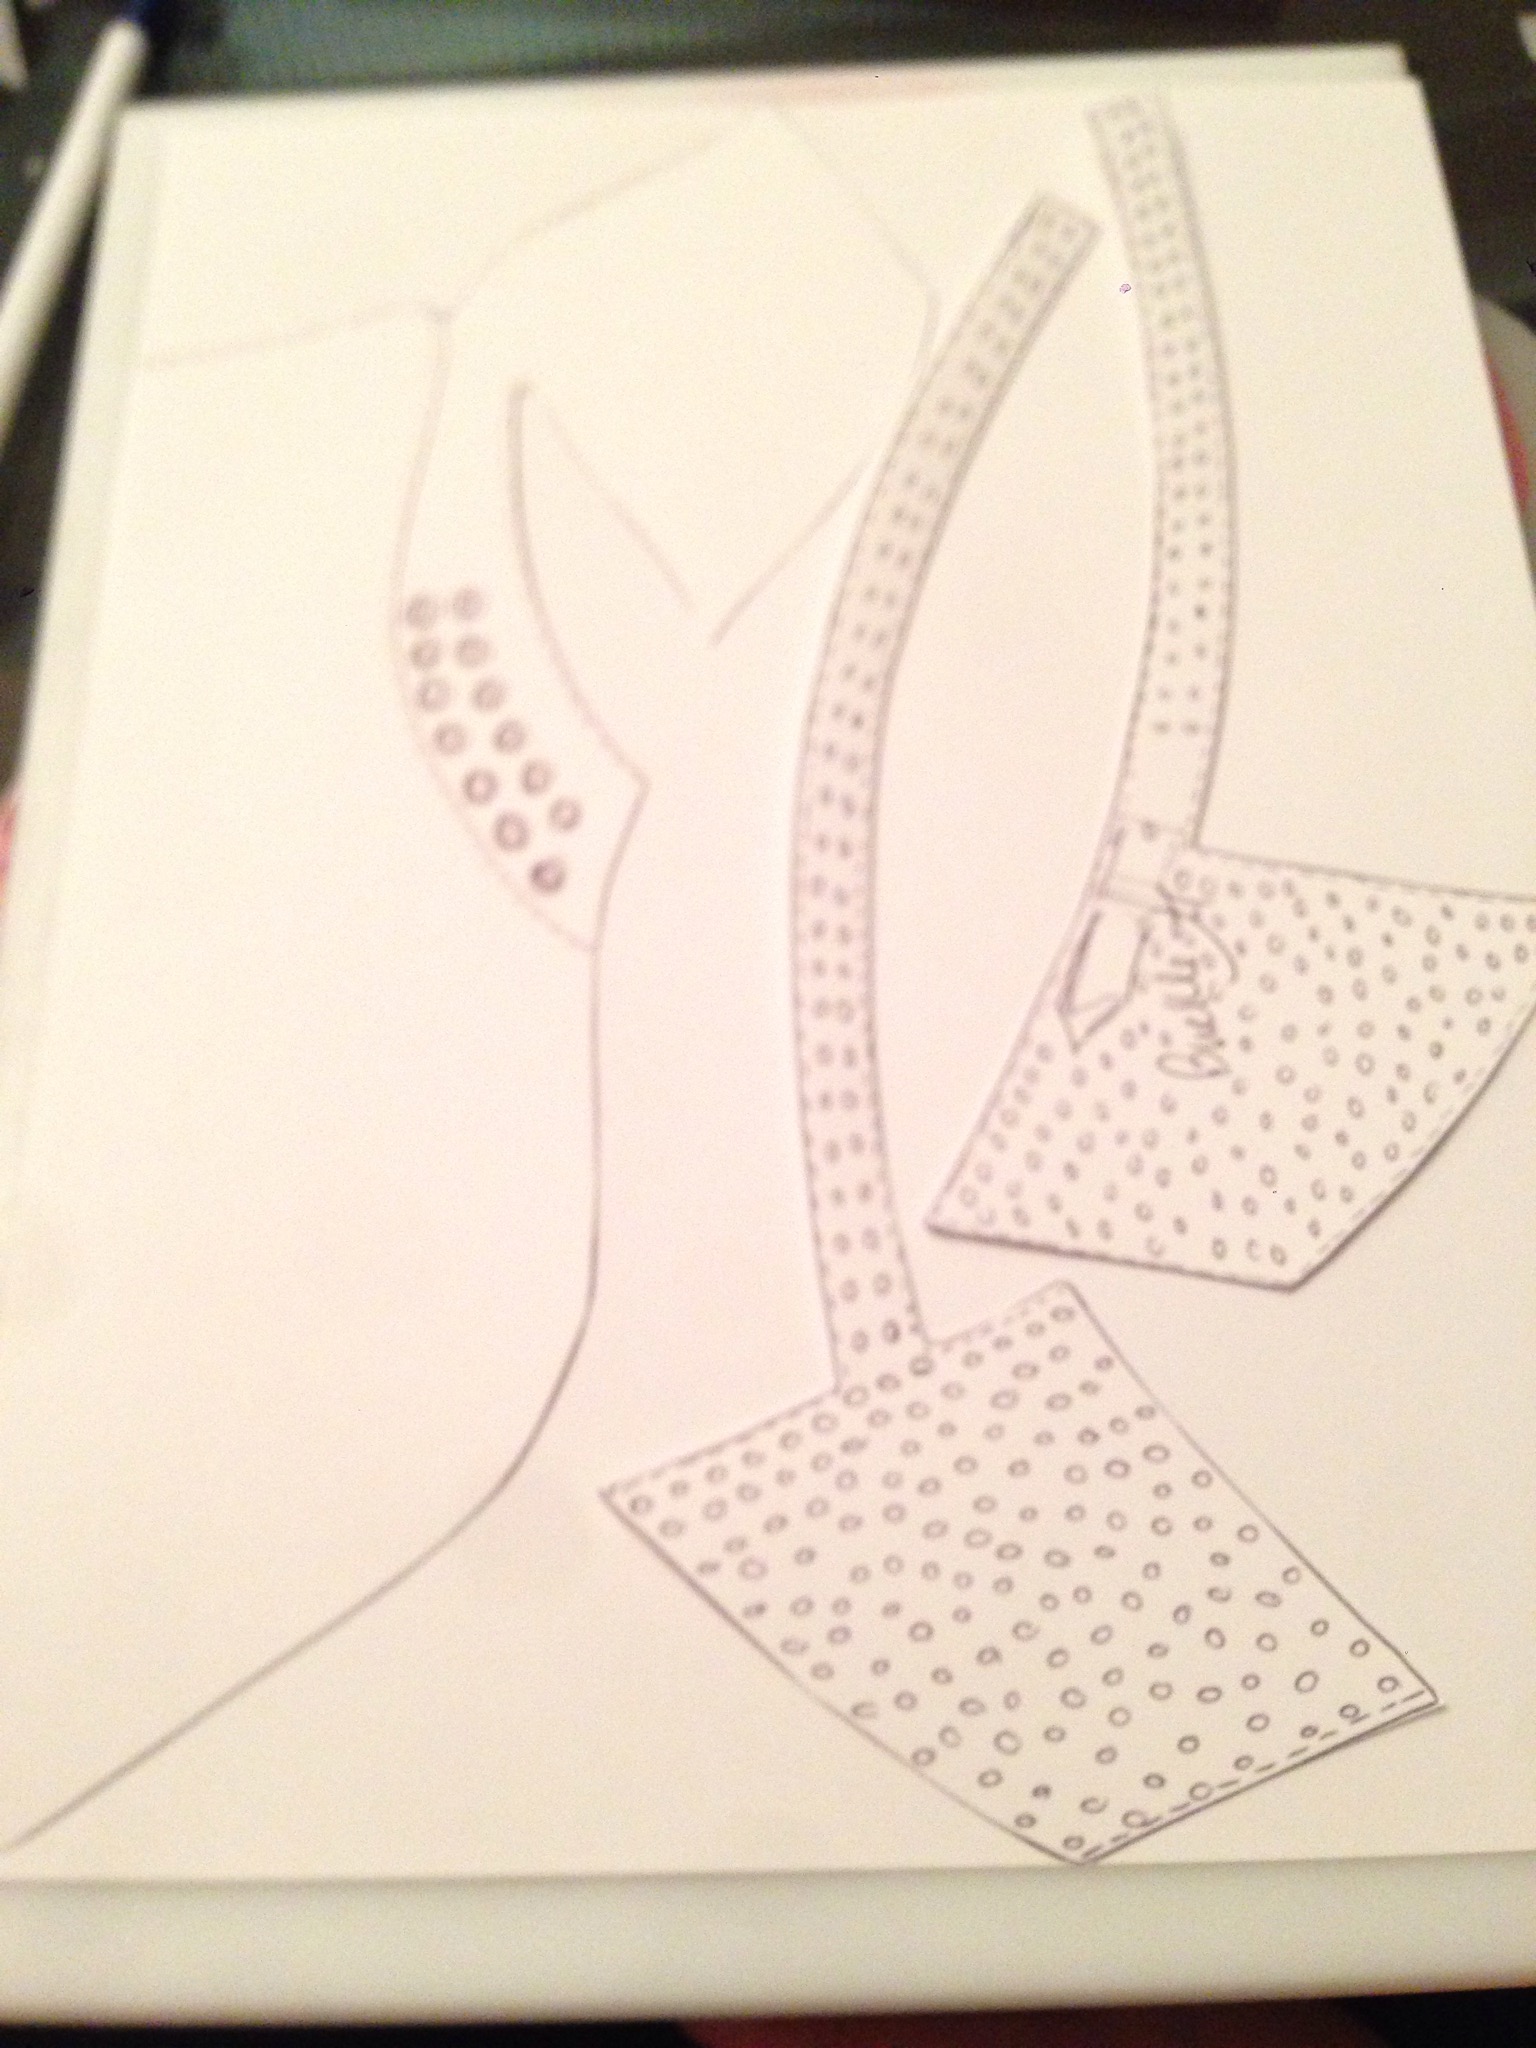
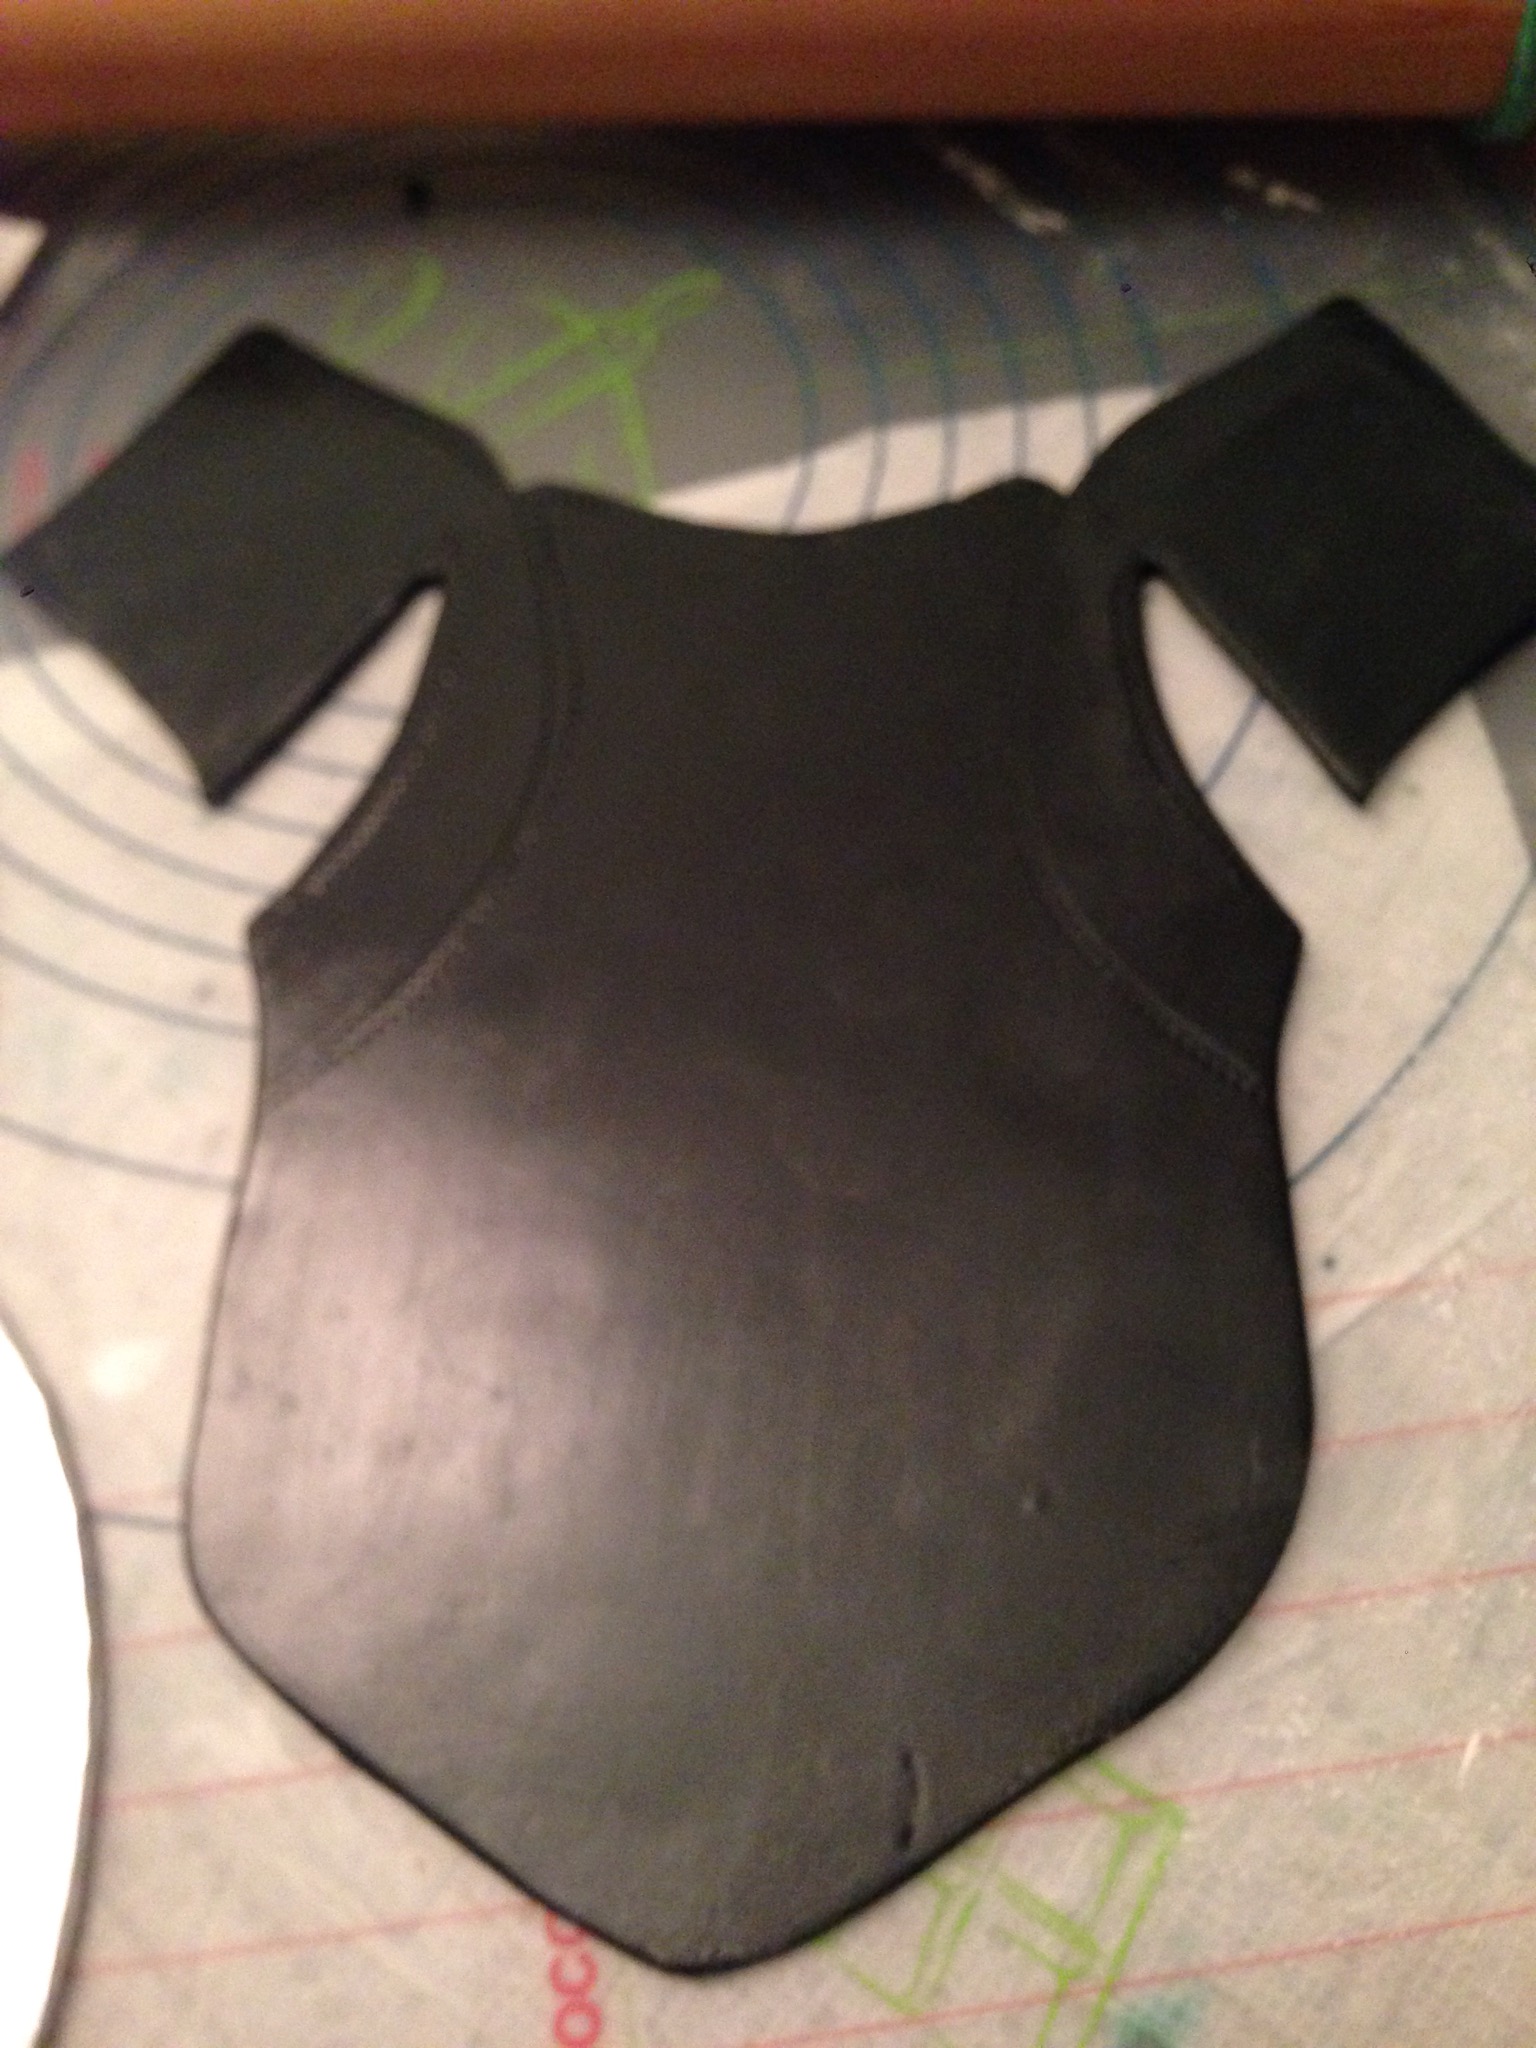
I created a custom template, it took three hours.
MINI TEMPLATE TUTORIAL!
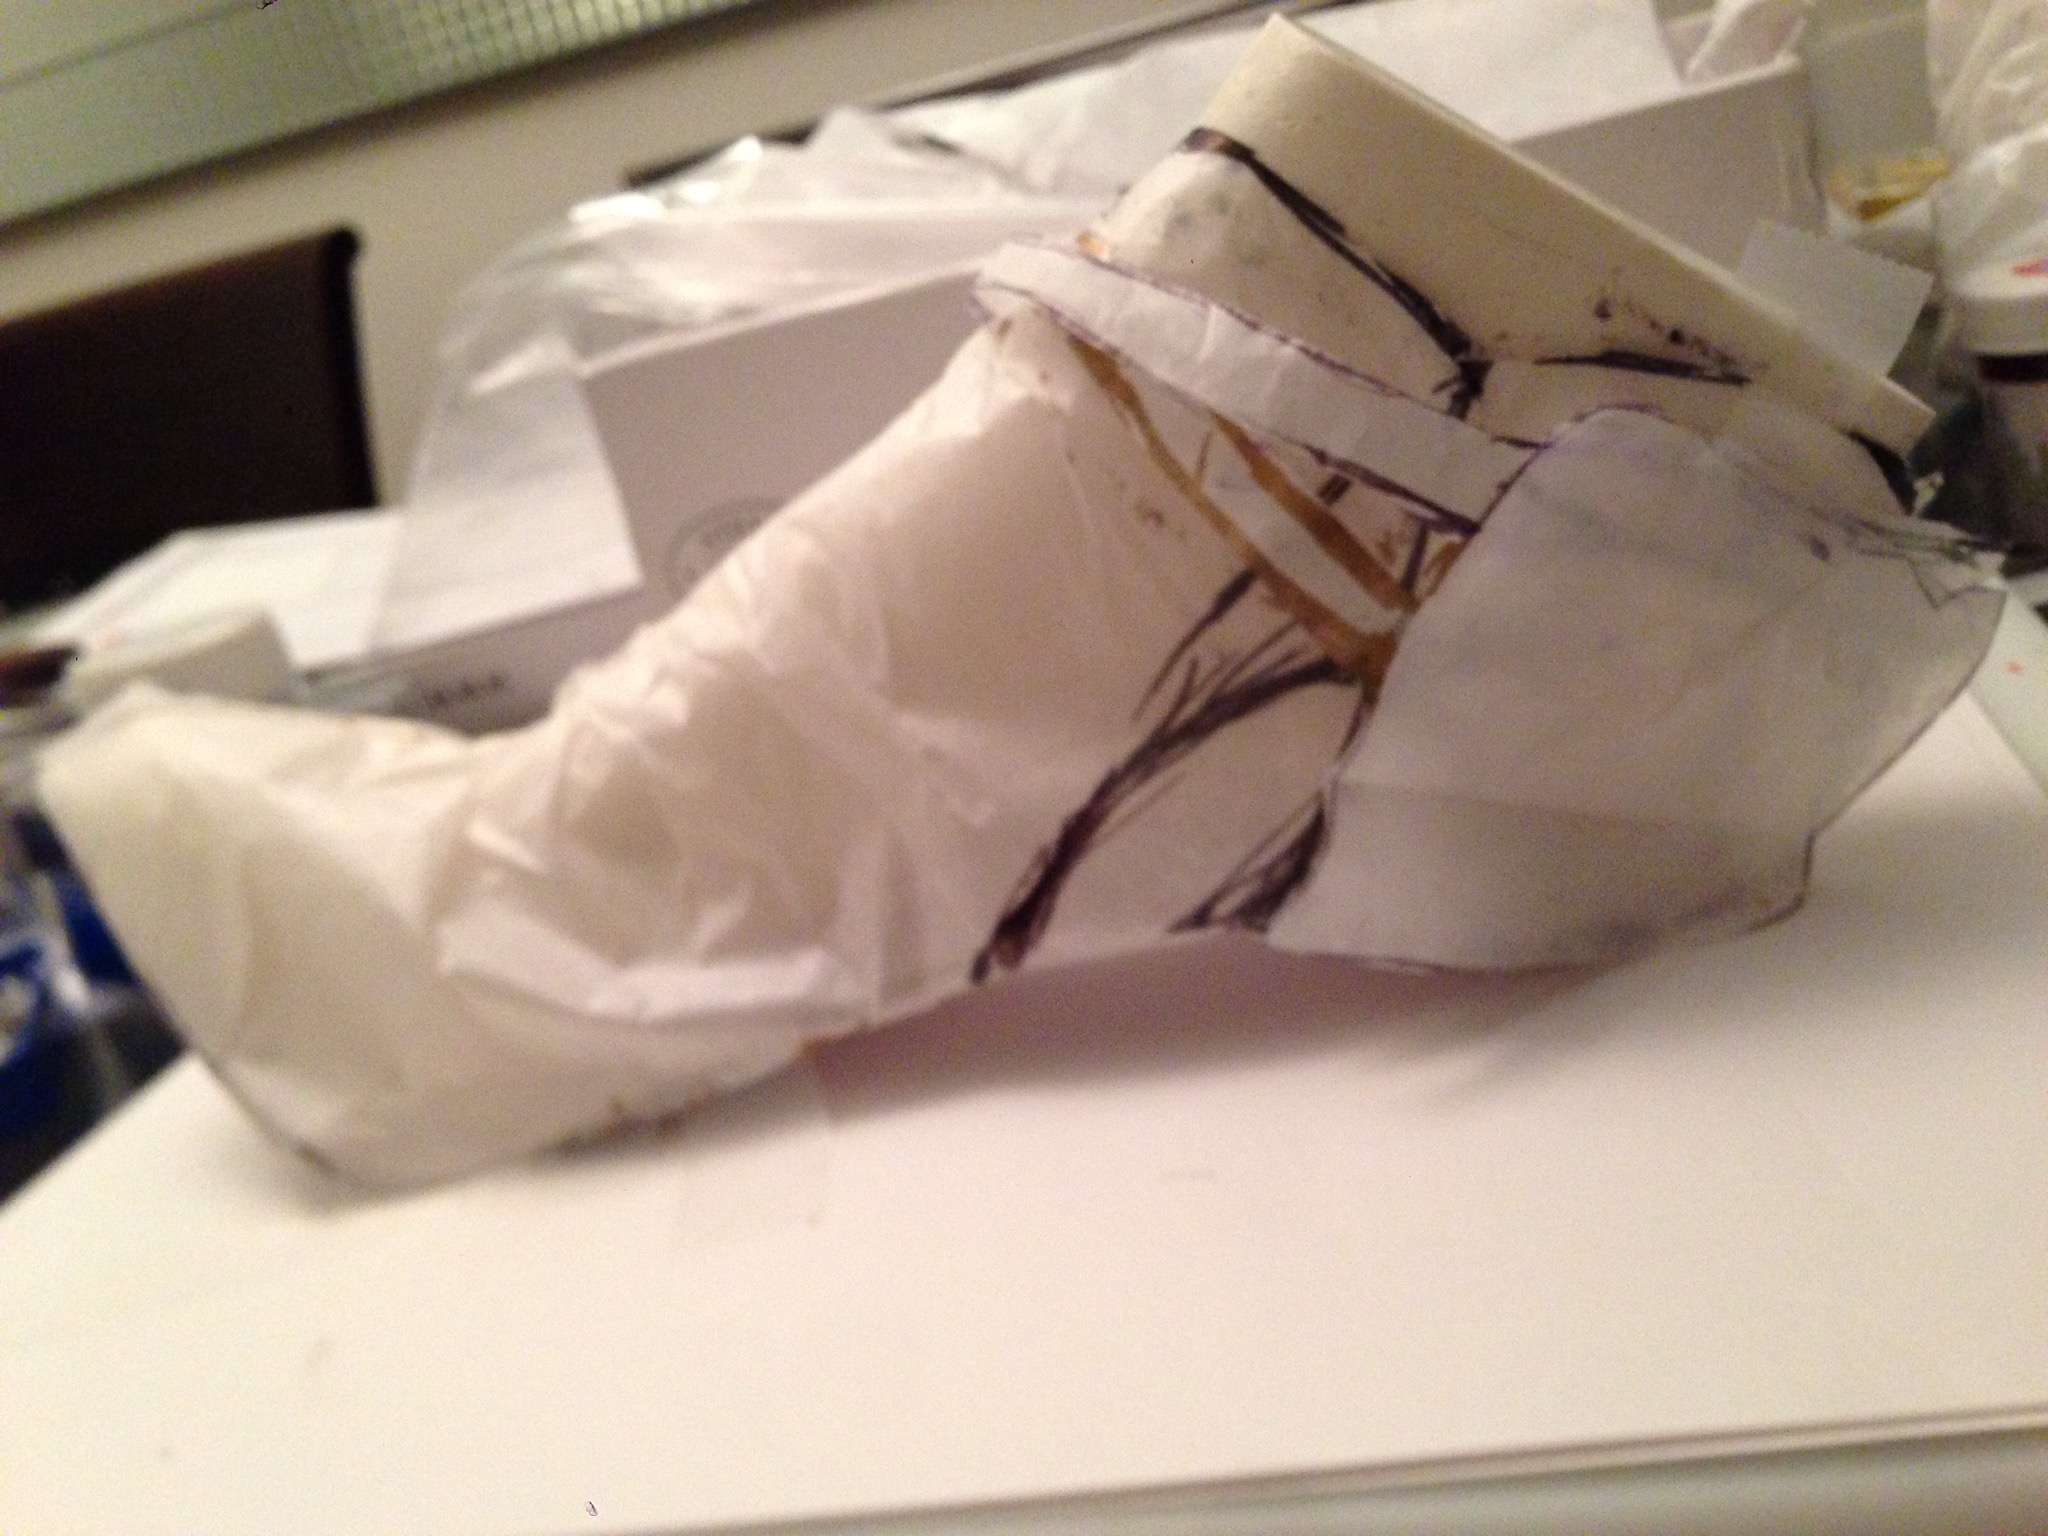
To do this you must attach the sole template to the shoe/boot former exactly as the former would rest on the actual sole. You don’t have a former? Get one. Mine is from Cake Structure

Next, use tissue paper to draw a rough outline of the top of the shoe or boot. I only did the outer part of the left shoe. Technically, if you make both sides identical and adjust the outer side on the second round of tissue paper tests it works out perfectly.
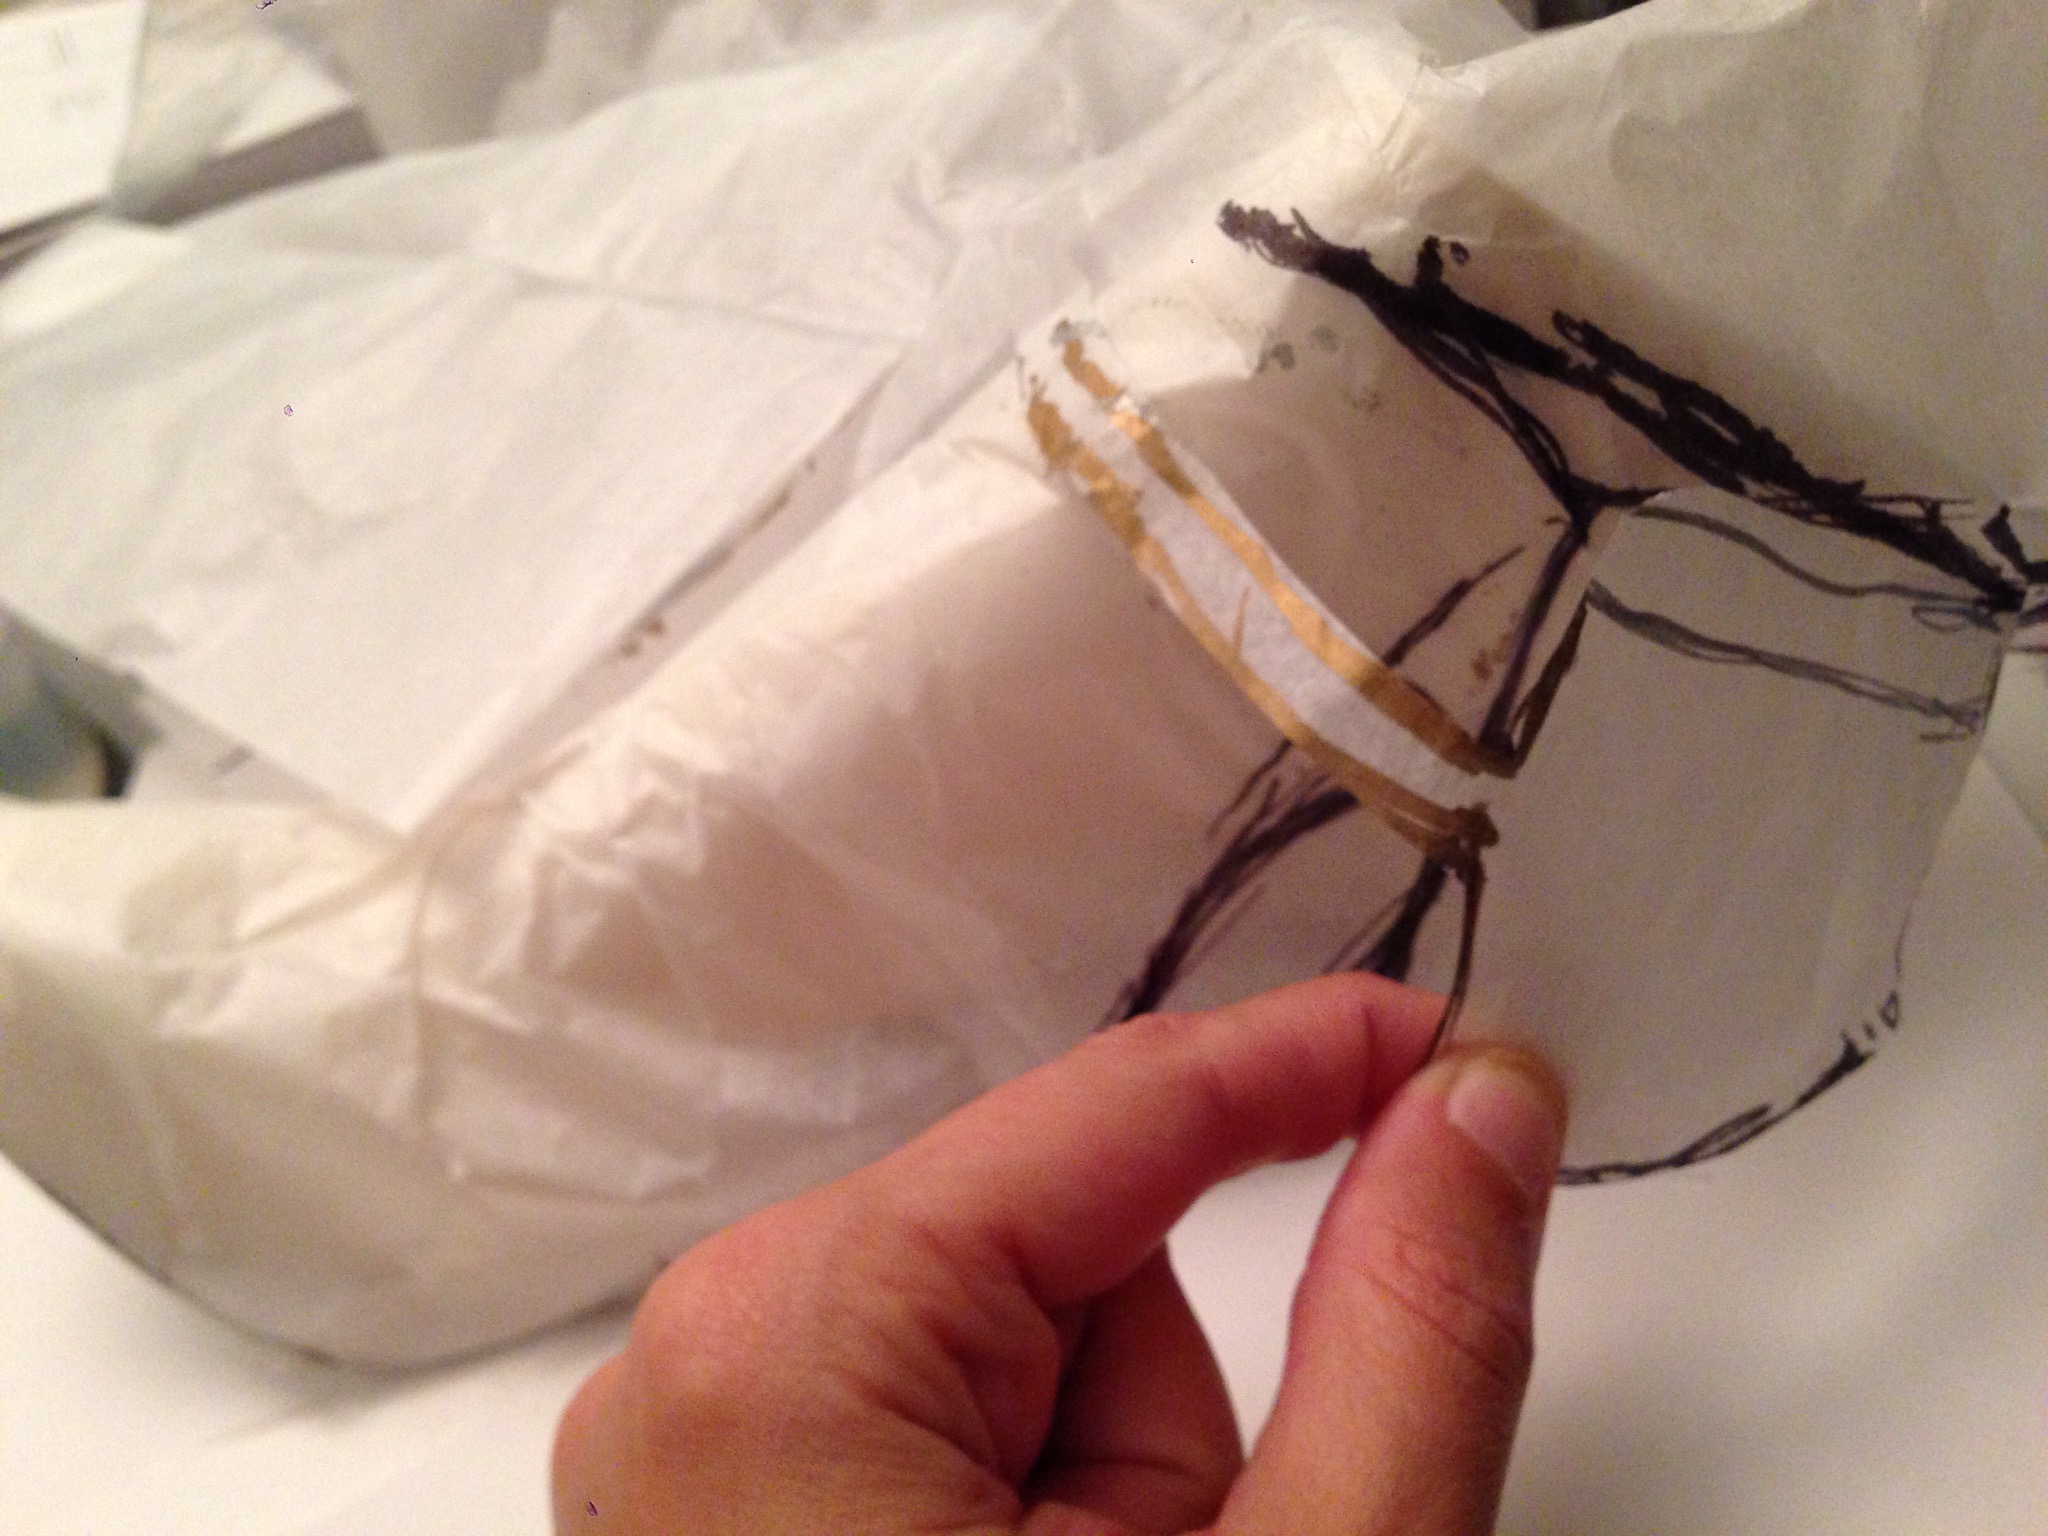
Cut the tissue paper exactly in half and refine your pattern on paper. You will cut two and tape them together in a mirror image fashion. After a couple of tries and a second tissue paper test you end up with something pretty exact.
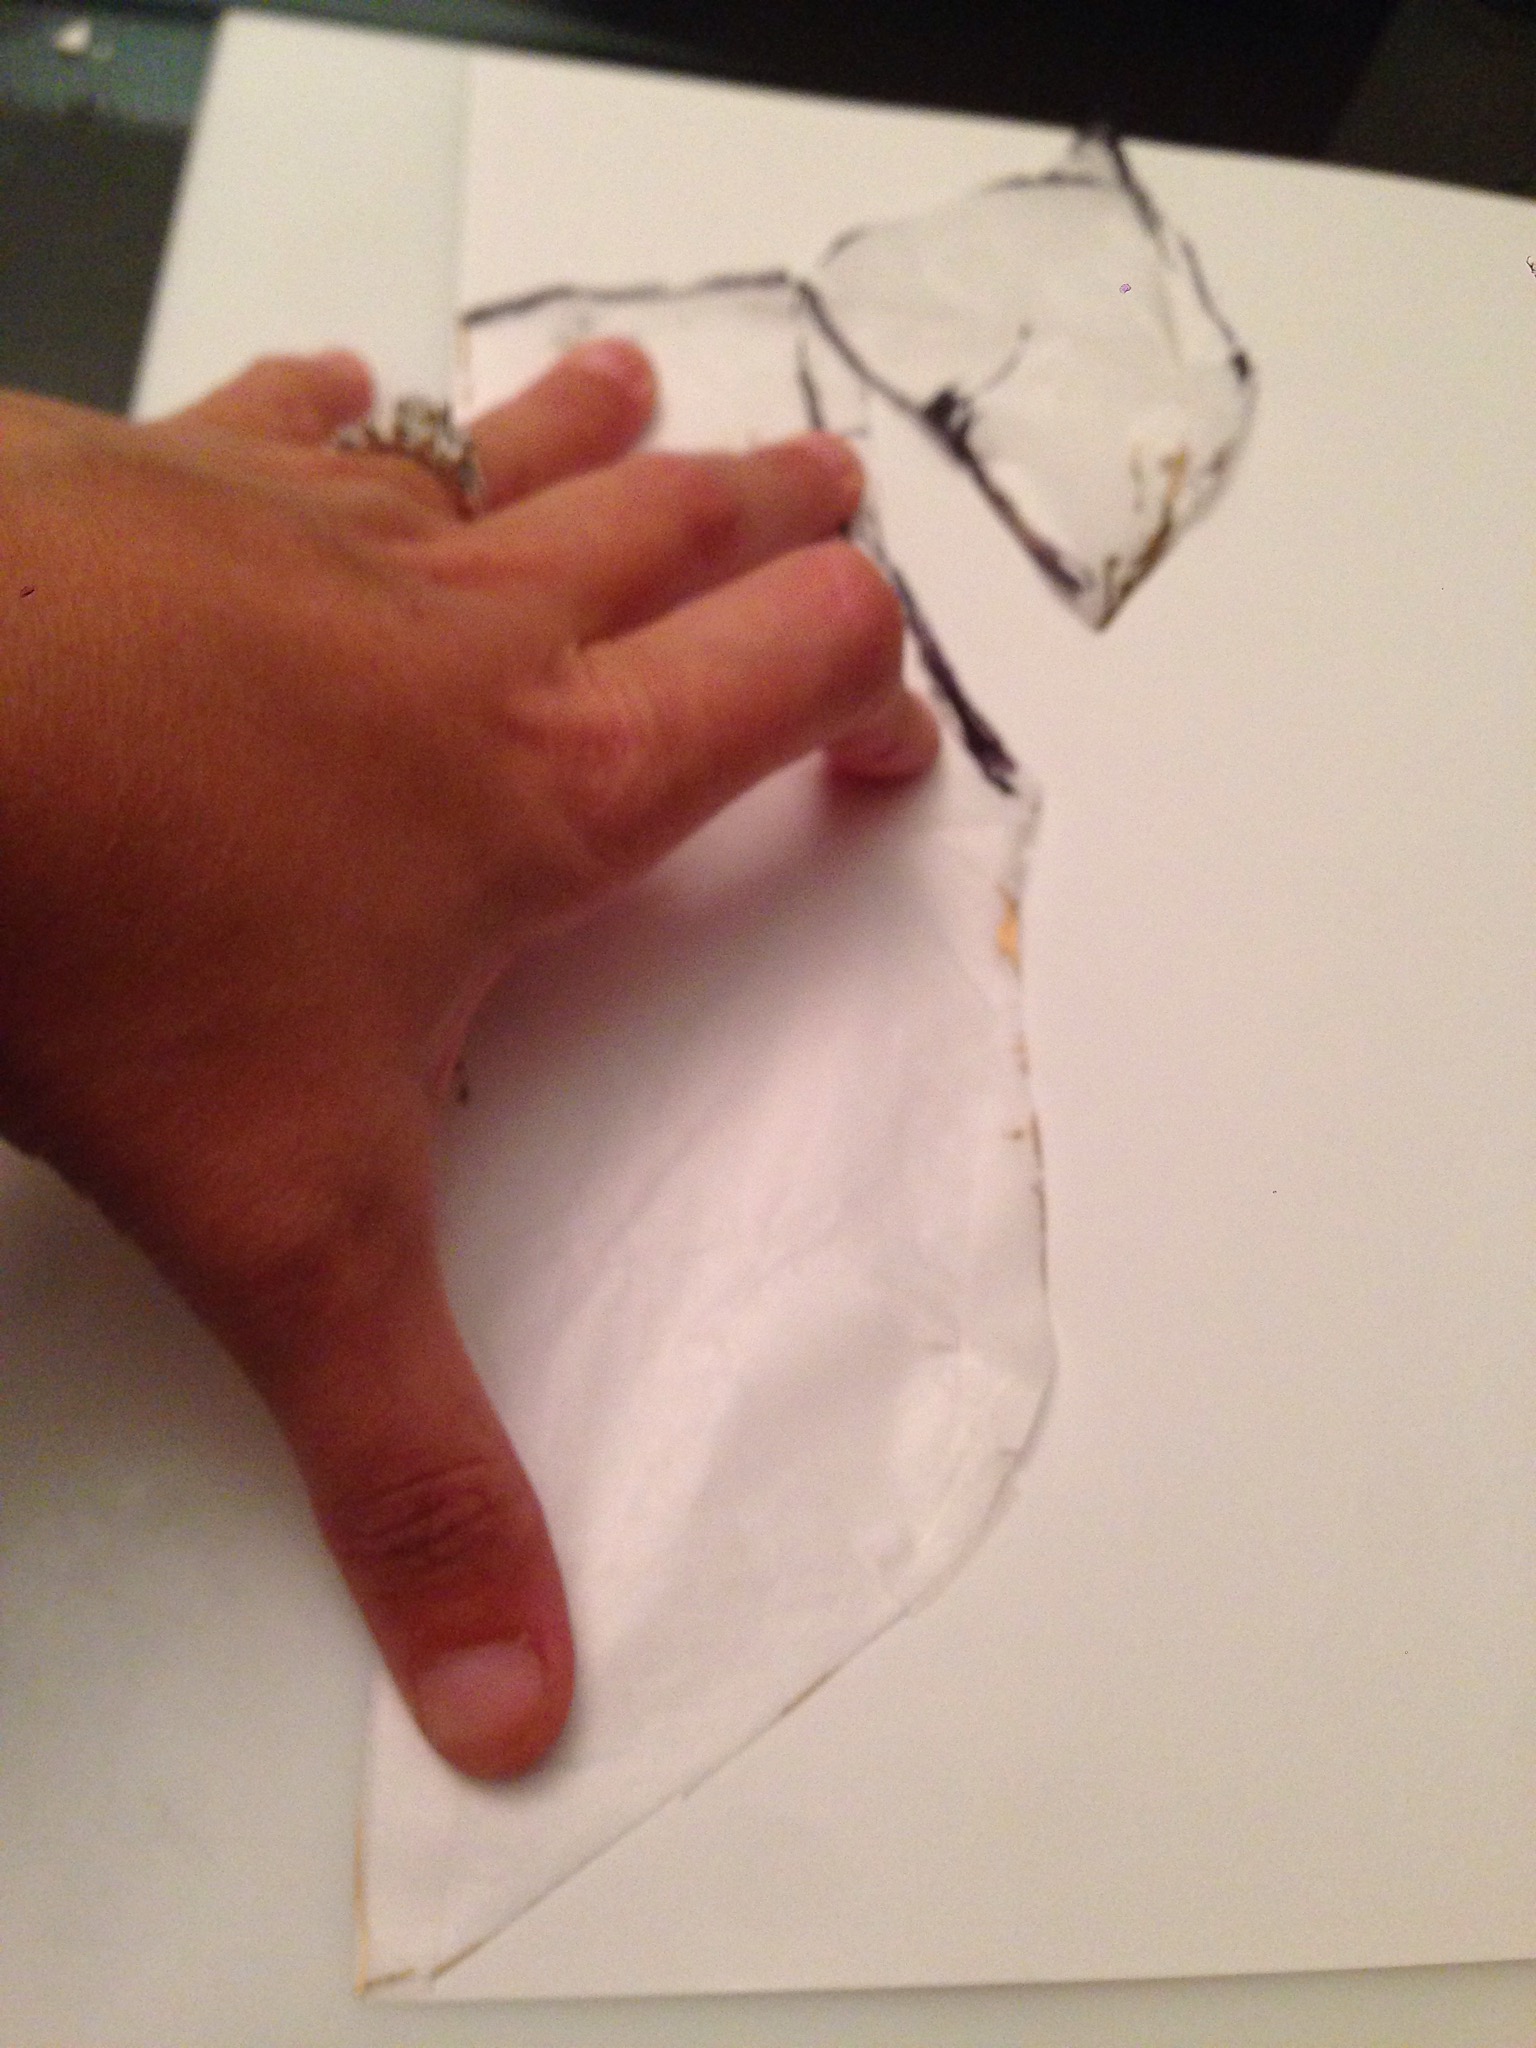
Tip: don’t imagine that gum paste will stand up on its own. It might do so for a few minutes but then it will sag, making your life miserable. This is where I went wrong. I wanted a bulgy boot, wrapping around the form and under to attach to the sole, I didn’t let the paste dry long enough and it collapsed under its own weight. THREE TIMES! Rolling out, adding stitching details, and rubbing shortening into the gum paste to get a perfect leather look three times is such a waste of time.
Back to the how-to:
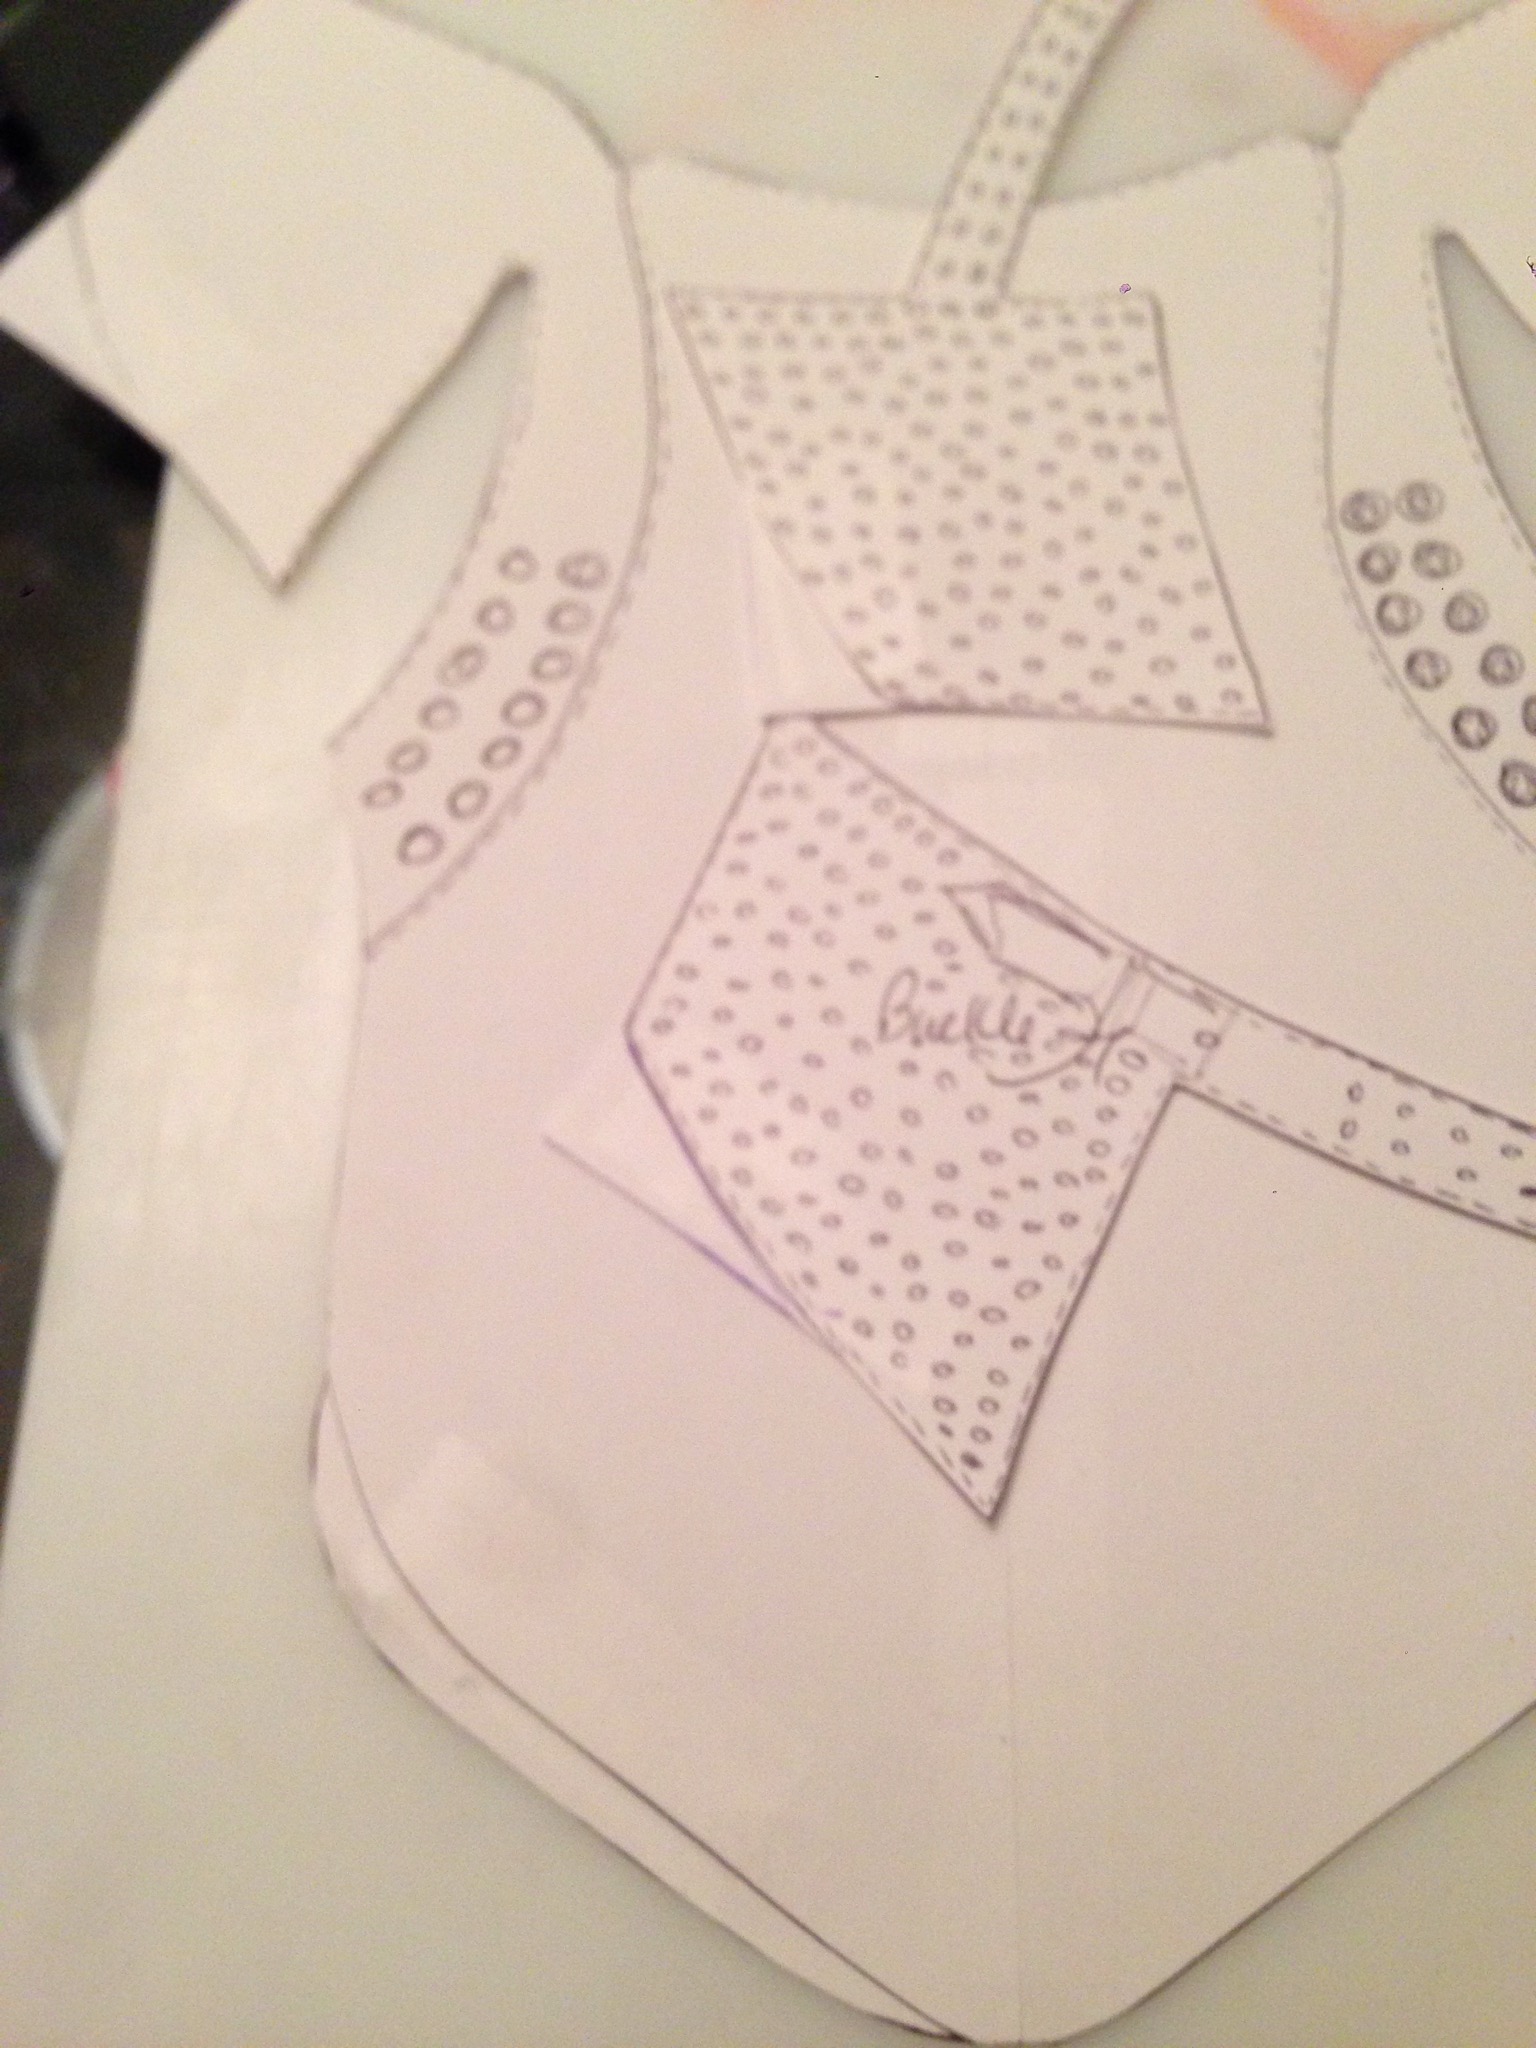
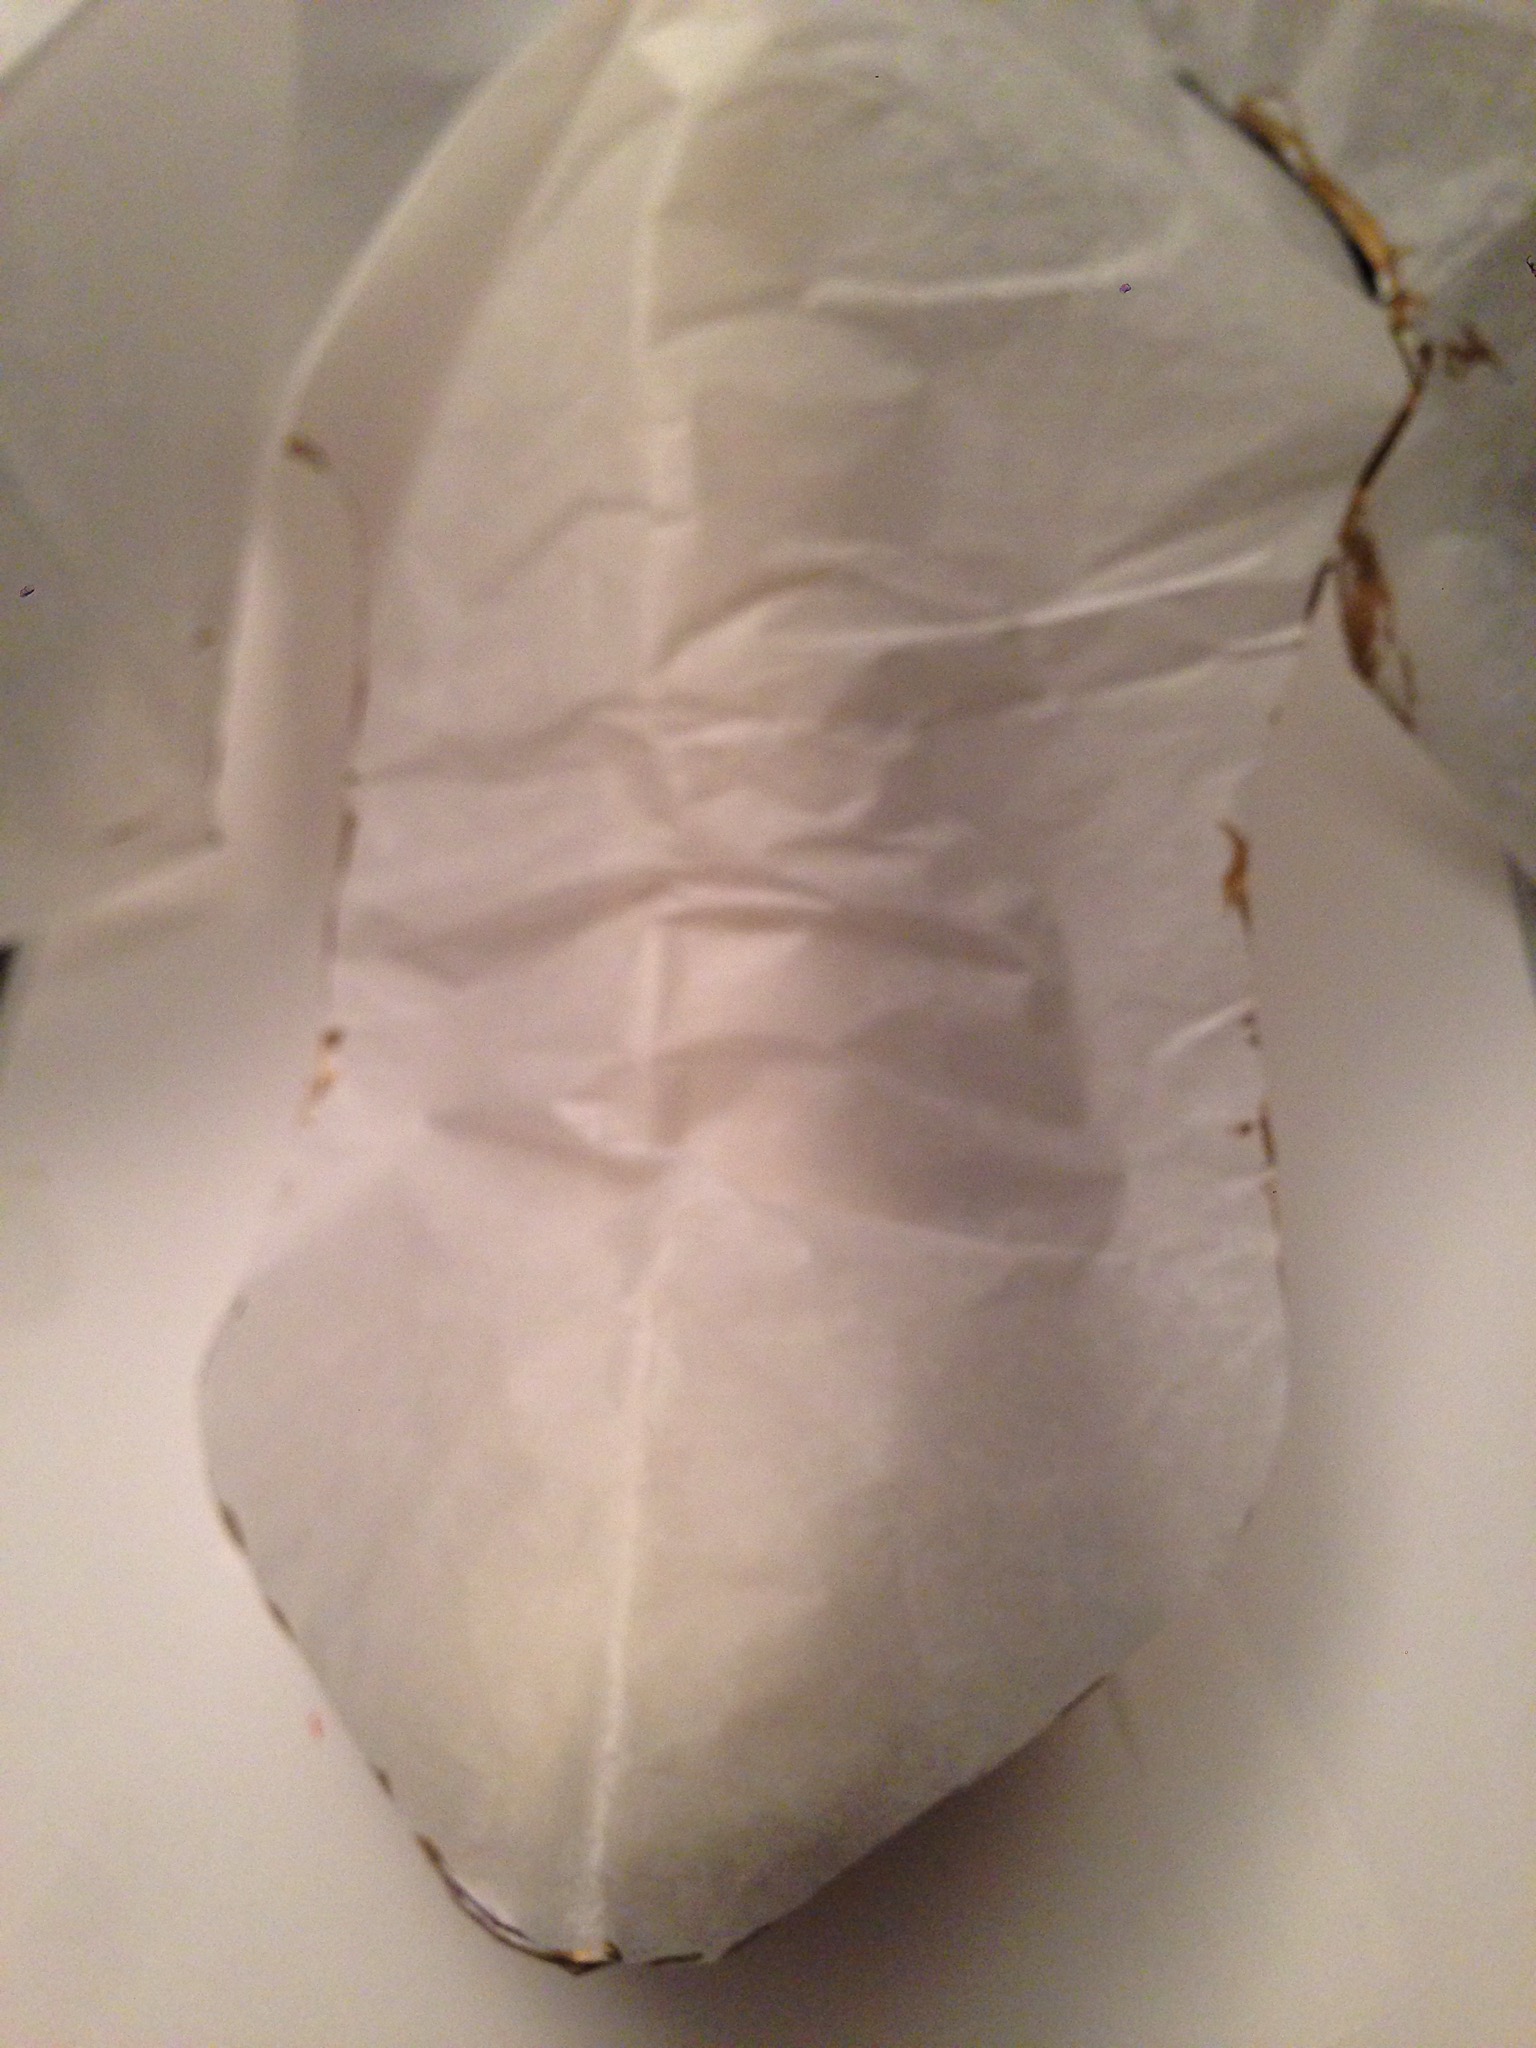
It’s always best to test the template using tissue paper again or scrap fondant to be sure it fits even after stretching and sagging. Make adjustments and hope for the best.

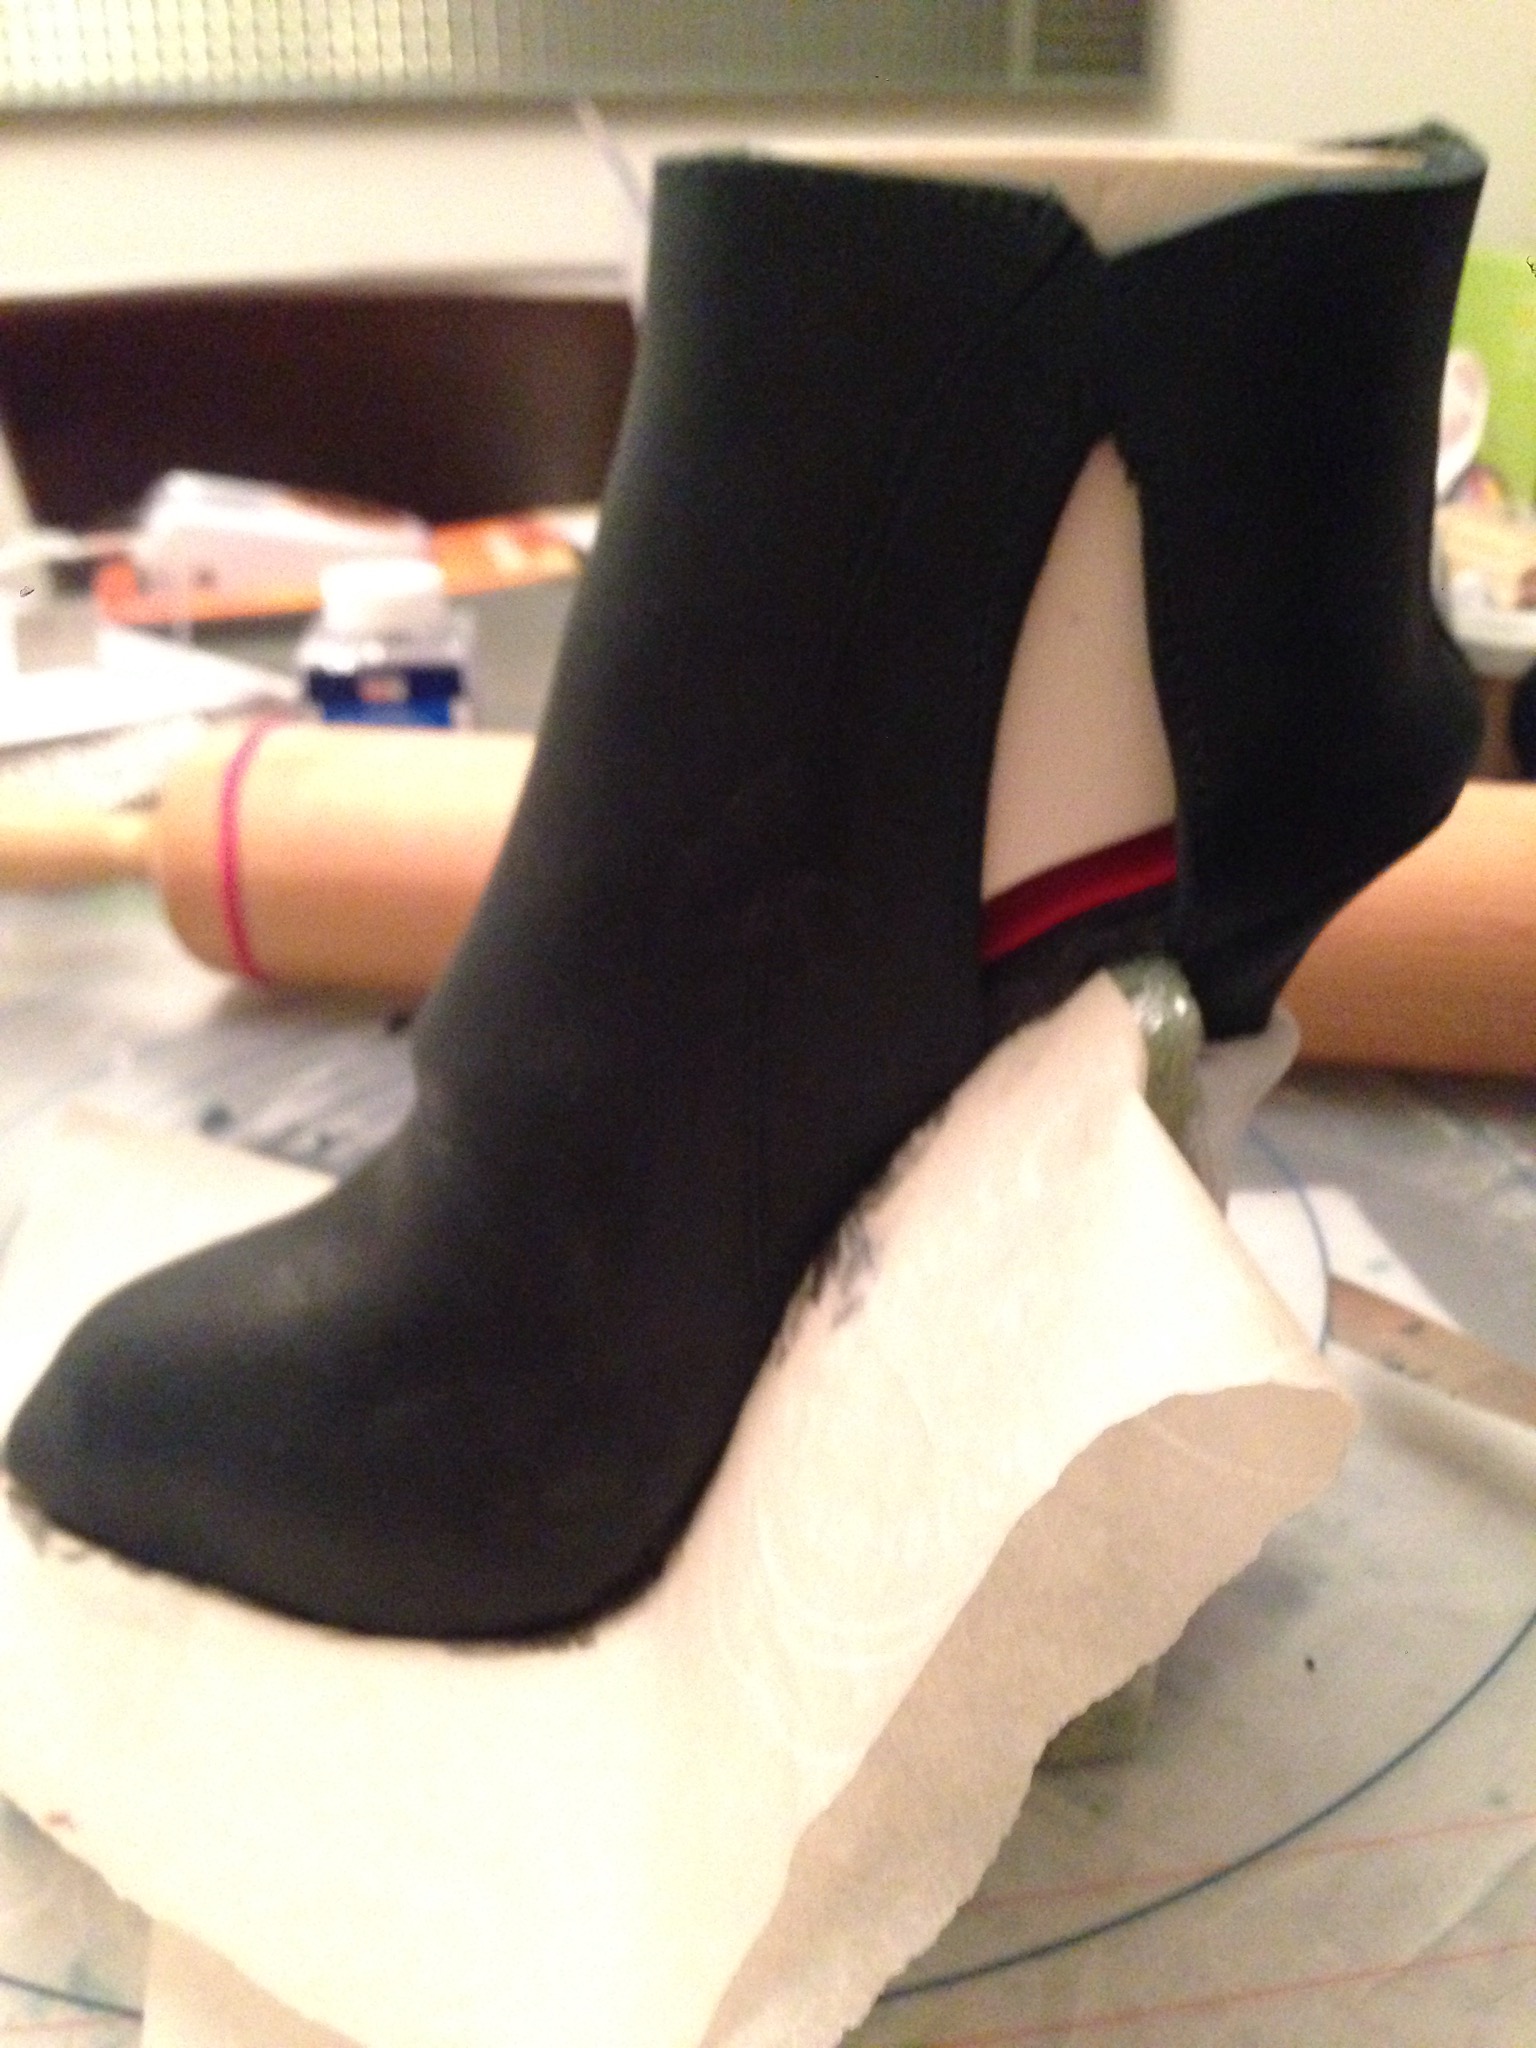
I can’t show you what I did make after all…it’s being delivered tomorrow. I salvaged the sole and heel and made a shoe inspired by this bootie, I threw in the towel at 5 am this morning. It is always sad to be so close to getting something EPIC like this bootie right, but I have my templates and I am going to try this again someday when I have many many many days of drying time ahead of me.
Sorry for the blurry photos, my iPhone 5 has a broken camera lens… Sigh.
